Decorators
Search

Decorators
Search

Painting is one job that people with homes new and old, big and small, simply can’t avoid. Whilst we’d all love to have a freshly plastered wall as our canvas, the reality is often very different.
Painting on walls that have already been painted time and time again can often mean the finish is far from desired. But with our expert tips, you can get your freshly painted walls looking as near perfect as they should look.
The perfect finish is all in the prep, and you’ll have to tick off a number of tasks before you even get down to the job in hand.
Start by removing any paint chips or old paint that has bubbled on the surface. All you need is a clean scraper. Use sandpaper to achieve an extra smooth finish after the larger bits of bubbling have been removed. Use a medium grade sandpaper initially before smoothing over with a fine grade.
Small holes and cracks commonly appear in walls over time. Whilst hairline cracks won’t be visible to the naked eye after a couple of coats of paint, larger holes should be filled. Invest in a good quality filler that’s suitable for the application.
A ready mixed filler is the best option for indoor wall repairs as long as the depth of the hole or crack is no more than 20mm. Apply the filler with a scraper or flat edged tool.
Gently sand over any surfaces you’ve repaired with filler. The best quality, lightweight fillers may not need any sanding at all.
Not every paint job has to begin with priming. If the surface is however porous or unstable, applying a primer will provide a layer of adhesion for subsequent paint layers to lock onto. Your new and old paint colours may also make primer application necessary. Make sure your primer is fully dry before moving onto the next step.
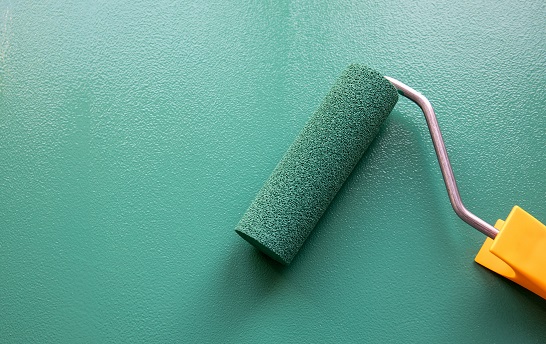
Choose a high quality, water based paint in your desired colour and apply with a roller for a flawless finish. Cut in the corners, around the ceiling and above the skirting boards with a brush. Apply two coats of paint if required or one coat if you are repainting in the same colour.
Once the paint has dried, you can simply stand back and admire your handy work. Whilst this DIY approach can cut costs, it does take time to achieve the perfect finish.
If time isn’t on your side or you’d prefer a professional to take the reins, use our handy search tool to find an experienced decorator in your area who can help.